
Issue your first warranty
Create a customer warranty from your workspace.
Open Create warrantyBefore you start
Sign in to the correct workspace as an Owner, Admin, or Staff member. You need remaining warranty allowance. Check the business contacts and default warranty terms in Settings.
Issue a warranty
- Open Warranties and select Create warranty.
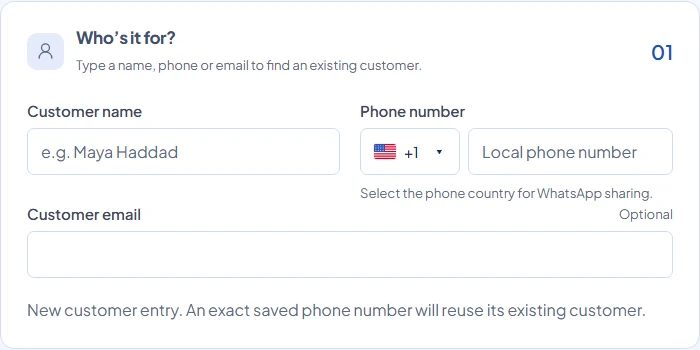
- Enter the customer name and phone number, with the correct country. Email is optional. Select a matching saved customer when one appears.
- Enter product details or select a catalog product. Check the serial number for this individual item.
- Set the purchase date, duration, and customer-visible warranty terms. Review the Covered until date.
- Review optional sale details and files, then select Activate warranty.
After activation
The Warranty activated screen provides View warranty, Share on WhatsApp, Copy warranty URL, Download QR, and Print labels. Review the public page, then choose a sharing method.
If a file upload fails after activation, the warranty may already exist. Open Warranties and find it before trying again. Add the missing file from that record instead of issuing a second warranty.